Whether you're chasing rugged backcountry trails or stringing together gravel roads, bikepacking is all about freedom, simplicity, and going further under your own steam.
With some insider tips from the crew at NZ Cycling Journal, we’ve pulled together a practical guide to help you get started — from the bikes to the bags to what goes inside them — so you can get rolling on your own bikepacking mission.
The Bike
There’s no one-size-fits-all bikepacking bike, and chances are, the bike you already have will work. It all depends on the terrain, distance, and how you like to travel. Here’s a quick overview:
Multi-day Mountain Bikepacking: Built around a mountain bike setup for off-road trails and rough terrain. Carry only the essentials for a lightweight, agile ride.
Ultralight Race & Gravel: Fast, minimalist setups designed for long distances on mixed surfaces. Popular for endurance events like the Tour Aotearoa.
Expedition & Dirt Touring: Designed for remote travel and big loads. These bikes handle rough roads and multi-day routes without the need for racks or panniers.

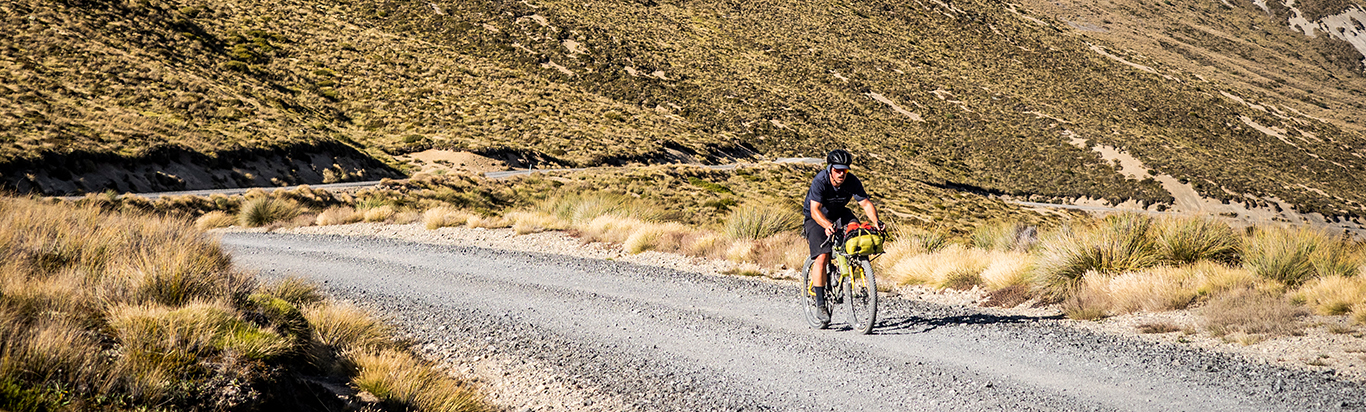
The big difference between bikepacking and traditional cycle touring? The packing system. Instead of racks and panniers, bikepacking uses a lightweight, rackless setup with soft bags that strap directly to the frame.
Bikepacking Bags: What Goes Where?
Frame Packs: Designed to fit inside your bike’s front triangle, frame packs are ideal for heavier items thanks to their low centre of gravity. Smaller frames may need a partial frame bag to leave room for water bottles.
Seat Packs: A staple in any bikepacking kit. These saddle-mounted bags are lightweight, aerodynamic, and stay out of the way when riding technical trails or hike-a-biking.
Handlebar Bags: For items like a sleeping mat or tent. Just keep the front load light to maintain stable handling.
Top Tube Bag: For the quick-access essentials.
Durability and Waterproofing Matter
Look for tough, trail-tested products with solid construction — think strong zips, buckles, and reinforced seams. Weatherproofing is essential, too. Keeping your gear dry makes all the difference after a long day on the trail.
What Do I Pack?
Bikepacking’s all about doing more with less. Every gram you bring, you’ll have to pedal — so pack smart and keep your gear tight and tidy.
Ask yourself:
- How many days are you away?
- Are you riding remote routes or through towns with resupply?
- Will you be staying in huts, camping, or booking accommodation?
- What will the weather throw at you?
Clothing & Apparel
- Chamois bike shorts
- Merino base layers (lightweight and odour-resistant)
- Insulated jacket
- Shell jacket (for wind and rain)
- Spare socks and gloves
- Warm beanie or buff
- Camp outfit
- Bike shoes (clipless or flat, depending on your setup)
Choose gear that dries quickly and layers well.
Camping Equipment
- Tent or bivvy
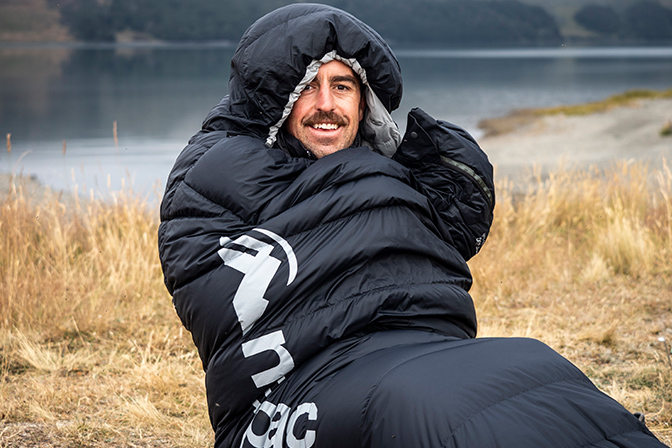
- Sleeping bag
- Sleeping mat
- Groundsheet
- Stove + fuel
- Cook gear + utensils
- Food
- Water
Keep your kit streamlined — but don’t skip essentials that help you rest and recover.
Bike Spares & Tools
- Spare tube or patch kit
- Multitool with chain breaker
- Mini pump
- Tyre levers
- Chain lube and rag
- Zip ties + duct tape (lifesavers in a pinch)
How to Pack Your Kit
Packing is just as important as choosing the gear itself. Keep your load balanced, compact, and accessible so you're not digging for snacks mid-ride or throwing off your bike’s handling on rough trails.
Seat Pack: Great for overnight gear.
- Sleeping bag
- Sleeping mat
- Camp clothes
- Food or freeze-dried meals
Tip: Roll from the bottom up and pack it tight to reduce sway.
Handlebar Bag: Best for long, lightweight items.
- Tent
- Sleeping mat
- Spare base layers or insulation
Tip: Keep it light to avoid throwing off your steering.
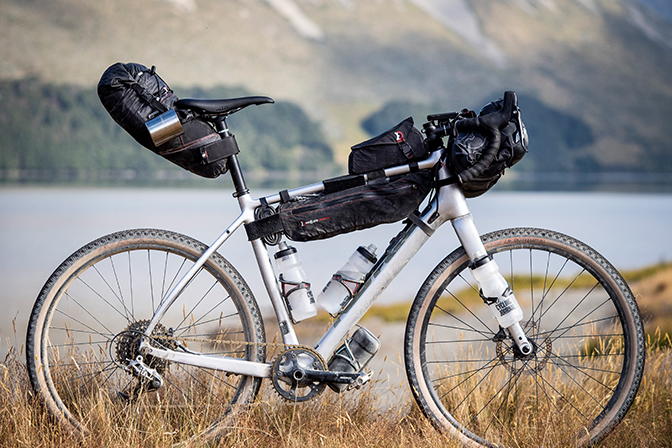

Frame Pack: Prime real estate for heavier gear.
- Stove and cook set
- Tool kit and spares
- First aid kit
- Snacks
Tip: Pad sharp items and avoid overstuffing to protect your frame.
Top Tube Bag: Quick-access essentials.
- Snacks and gels
- Sunscreen, lip balm
- Phone or headtorch
- Compact multitool
Packing Tips:
- Balance your load: Even weight front-to-back and side-to-side helps handling.
- Use dry bags: Especially for sleeping gear and spare clothes.
- Test it first: Pack up, ride local, tweak before the big trip.
The beauty of bikepacking is that there’s no single right way to do it. Start with what you’ve got, borrow or build up gear as you go, and dial in your setup with every ride.
Big thanks to NZ Cycling Journal for their trail-tested insight. Head to their site for more inspiration, route ideas, and gear reviews.