What we choose to wear when we go hiking can go a long way towards a great outdoors adventure, rather than one we’d prefer to forget.
We all want our time in nature to be about being present to our precious wild places and not worrying about being too hot, too cold, too wet or having restricted movement.
Understanding how to make clothes work for us, through a few smart decisions and a little bit of planning, can make all the difference.
How to choose clothes for hiking
The main things to think about are:
- choosing fabrics that dry quickly (called wicking), that not only draw sweat away from your skin but that dry quickly after rain or river crossings.
- styles and designs that protect you from the elements (eg. long sleeves and collars for sun protection)
- materials that move with your body - with just the right amount of stretch – don’t be held back!
- identifying the three layers for your outdoor clothing system
- understanding you don’t need clean/fresh clothes every day of a multiday trip
- considering the ‘packability’ of an item – how much space will it take up in your pack? (warmth to bulk ratio)
- looking for lightweight items to reduce the load on your pack and body (warmth to weight ratio)
- balancing your budget
The 3 layers of an outdoor clothing system
The three layers that make up an outdoor clothing system are:
- Base layer (what is next to your skin)
- Mid layer (AKA the warmth layer)
- Shell (protect you from the elements)
Let’s look at these in more detail…
1. Base Layer
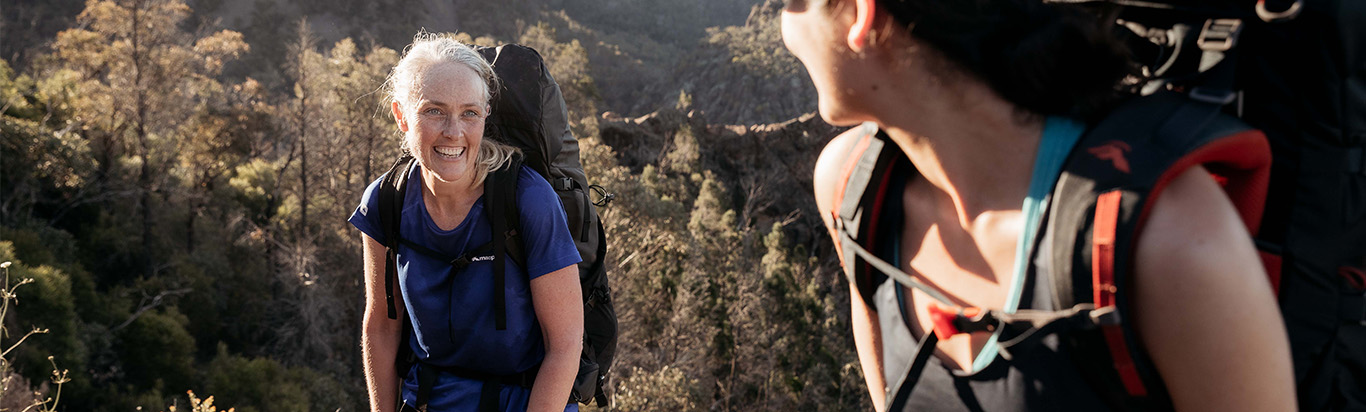
Your base layer is whatever you wear directly against your skin, so this is going to be things like a t-shirt or shirt up top and pants/shorts or a hiking skirt for down below.
Because it’s right up against you all day, it’s good to look for fabrics that are soft and comfortable to wear, have moisture-wicking qualities and (if you - or your adventure buddies - are bothered by it) don’t contribute to bad BO.
Base layer fabrics
The main choices available in good base layer materials are merino wool (a natural fibre) or some sort of synthetic (man-made) polyester fabric. A mix of the two can provide the best of both worlds with added durability and strength.
The natural pros of merino are things like its breathability, lightweight, anti-microbial (anti-stinky pits!), moisture-wicking and how it can keep you warm even when wet. The downside is that it tends to not be as hard-wearing. That said, a synthetic is even better at quick-drying and so if you’re going to be building up a massive sweat or are in a wet environment like a canyon or bad weather, it can make a better choice.
Base layer designs
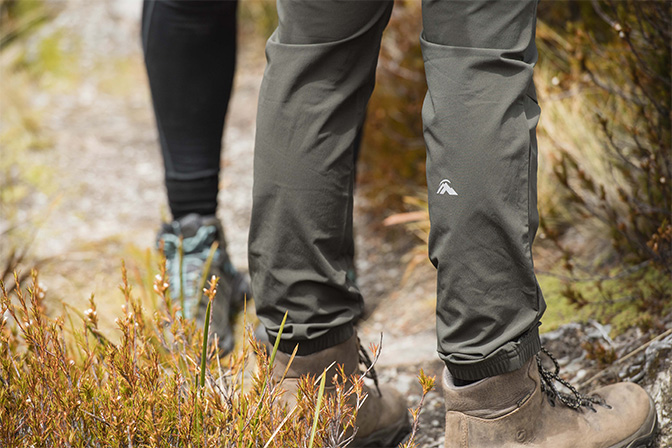
For pants/trousers, the go-to for many years has been the classic zip-off convertible pants, such as the Rockover, which feels like cotton, but is nylon with just the right amount of elastane, for a bit of stretch - perfect for getting up those boulders or climbing stairs.
In recent years, more women are wearing leggings in the bush. Whilst these are high on the comfort level, just check the fabric to ensure they’re not cotton, which is a poor choice for hiking layers. Cotton takes a long time to dry, which in cold temps can be dangerous, drawing the heat away from your body.
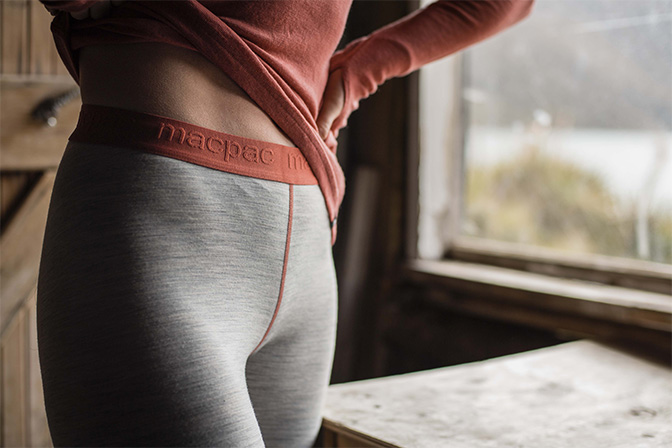
Base layers also include thermals (long sleeve tops and leggings), in either merino or synthetic (eg. polypro) fabrics. For me, it doesn’t matter what time of year or where I’m going, I’ve always got a set stashed at the bottom of my bag. They’re so light and small, I barely know they’re there! If I’m heading out snow-camping or backcountry skiing, I’ll take two pairs – a merino set and a polypro set.
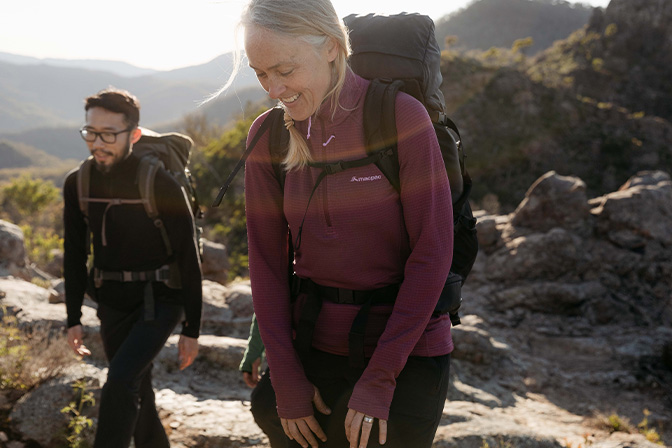
2. Mid (or warmth) layer
This layer is all about keeping you warm. The secret is trapping (and heating) air on the inside, between the layers. Items like jackets, vests, jumpers/pullovers, as well as heavier gauge/thicker base layers (eg. 220 merino) are all good examples of a warmth layer.
Base layer fabrics
Clothes made out of synthetic fleece are one of the cheapest warmth options available, but fleece items can be bulky.
The thing to think about with this layer is the bulk-to-warmth-to-price ratio. Whilst a fleece is probably the cheapest option in this layer, the warmer fleeces are also the bulkiest and will take up a lot of space in your pack.
Common materials you’ll find in mid-layer clothes are:
- Fleece
- Polartec (various weaves eg. PowerGrid like in the Ion or AlphaDirect in the Nitro and Pisa.)
- Primaloft
- Merino
- Down (goose, duck or synthetic)
- Softshell (a hybrid nylon elastane fabric that’s windproof and water-resistant, not waterproof)
Layering is all about having options you can add or subtract as needed. It’s about you being in control of the thermostat, dialling up or down when conditions (or activity) changes.
In the same way, the huge variety of fabric options means you are also in control of that critical bulk-warmth-price ratio. The top end of the dollar scale is usually where you’ll find down jackets, but they can also be one of the lightest, which can be compressed into tiny spaces in your pack. The downside (see what I did there?) is that they’re not great with rain/wet environments, so that’s where a synthetic like Primaloft or Polartec can really come into its own.
And just a word on down, although there is responsible down available these days (and all Macpac down products are 100% responsible down!), some vegans may prefer synthetic options like Primaloft.
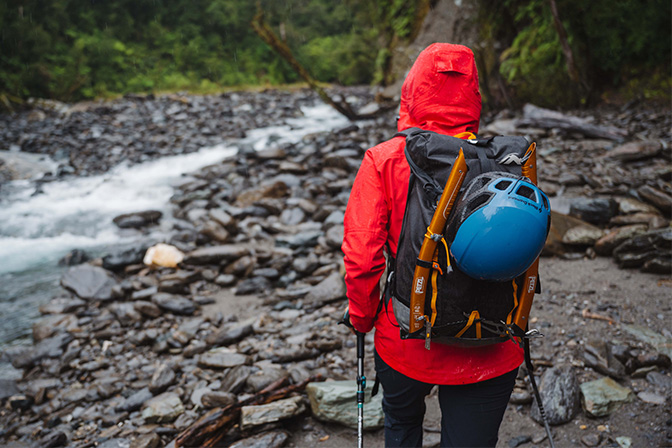
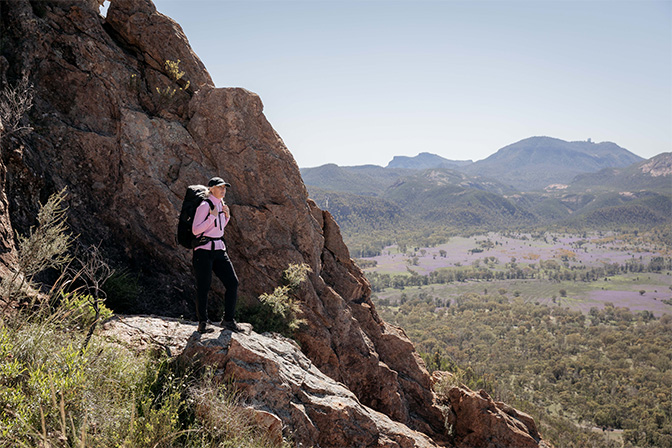
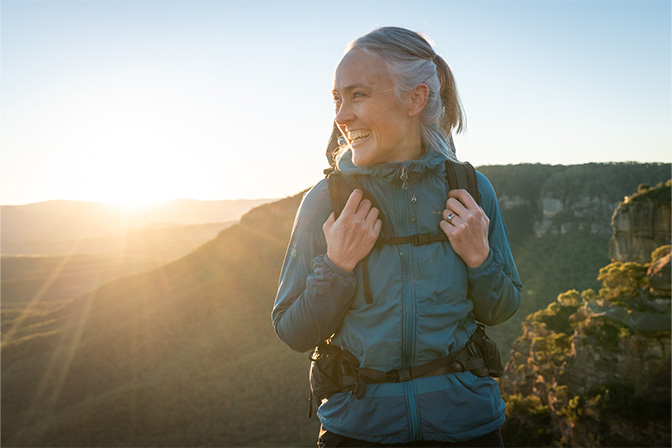
3. Shell (or outer) layer
This is it. This is your last line of defence between you and the elements. The shell layer is designed to keep the weather off you: wind, rain, snow, sleet… all the good stuff! The most common fabric in shell jackets you’re going to find are:
- Goretex
- Pertex
Now whilst warmth isn’t its main purpose, you can still include this layer in your temperature strategy.
With this outer layer, your decision needs to weigh up the waterproof to weight to price ratio.
A high-performance jacket can be both expensive, heavy and bulky, so look for lightweight technical jackets, with a good DWR (durable water repellent) coating to suit your destination.
For me, I have two rain jackets. A lightweight one that I’ll take on day walks, in warmer temperate regions which I call my, “3 season jacket”. Then, I also have a longer, heavier weight jacket (4 seasons), that’s primed for the best that nature can throw at me. This is the one I take to places like The Barringtons, Tasmania, the Snowy Mountains, the Blue Mountains… and New Zealand.
Accessories… the icing on the cake!
For all the skin that’s left exposed to the elements after you’ve got your 3 layers on, accessories such as a scarf, neck gaiter, beanie or rob-a-bank-balaclava and gloves have got you covered (cue dad joke). As these bits and bobs are all about warmth, look for merino or fleece fabrics and even a waterproof shell for gloves, especially if you’re going to be adventuring in alpine areas or in bad weather.
What do I wear hiking?
In the 23 years or so that I’ve been spending huge chunks of the year out in the bush, I’ve tried lots of different approaches in clothes to come up with what works for me. Every body is different and we all adventure differently, so take your time to find things that work for you and the places you go.
Generally speaking, my bushwalking adventures are 85% off-track, through various types of Aussie scrub and terrain, so I need my gear to be robust, yet lightweight. I'll dive into my layers here, but a quick note re footwear first.
I like wearing:
- Merrell Women's Moab 3 Ventilator Hiking Shoes
- Scarpa Women's Kailash Trek GTX Hiking Boots
That said, let's dive into layers. Here’s my go-to clothing list that works for me:
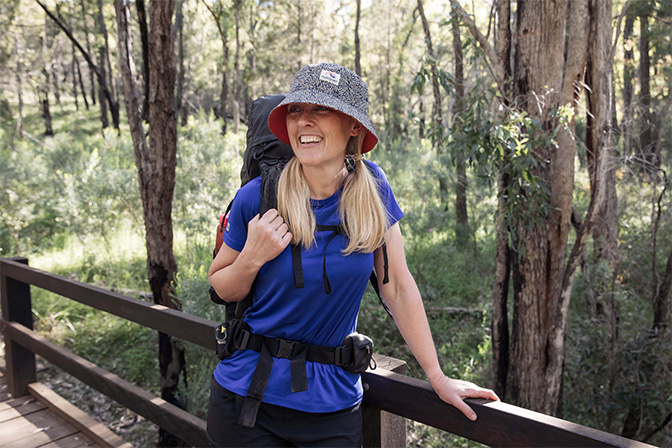
NB: I always choose the brightest colours available for safety. The tip is to choose colours that don't naturally occur in the bush to help you be seen from helicopters. Styles below reflect current availability. Colours will vary, season to season.

Macpac Women's Rockover Convertible Pants
Our Price
NZ$143.99MEMBERS PRICE
20% OFFCLEARANCE
20% OFFSALE
20% OFF
Macpac Women's 220 Merino Long Sleeve Top
Our Price
NZ$103.99MEMBERS PRICE
20% OFFCLEARANCE
20% OFFSALE
20% OFF
Macpac Women's 220 Merino Long Johns
Our Price
NZ$103.99MEMBERS PRICE
20% OFFCLEARANCE
20% OFFSALE
20% OFF
Macpac Women's Pisa Hooded Fleece Jacket
Our Price
NZ$159.99MEMBERS PRICE
50% OFFCLEARANCE
50% OFFSALE
50% OFF
Macpac Women's Lightweight Prophet Rain Jacket
Our Price
NZ$519.99MEMBERS PRICE
20% OFFCLEARANCE
20% OFFSALE
20% OFF
Macpac Women's Nazomi Rain Pants
Our Price
NZ$239.99MEMBERS PRICE
20% OFFCLEARANCE
20% OFFSALE
20% OFF
Macpac Waterproof Hat
Our Price
NZ$55.99MEMBERS PRICE
20% OFFCLEARANCE
20% OFFSALE
20% OFF
Macpac Tech Fleece Glove
Our Price
NZ$35.99MEMBERS PRICE
20% OFFCLEARANCE
20% OFFSALE
20% OFF
Macpac Merino 150 Neck Gaiter
Our Price
NZ$31.99MEMBERS PRICE
20% OFFCLEARANCE
20% OFFSALE
20% OFFThanks for sharing your adventure and review with us Caro! You can find out more about Caro Ryan at lotsafreshair.com