You’ve got your bag, you’ve got your crew, your adventure is all planned out. It’s the night before you leave and it’s time to pack, but what’s the best way to fit everything in? Part method, part art form, packing everything so that it’s comfortable and compact is key to enjoying every step of your hike. The aim is to pack efficiently as possible by including everything you need without missing any of the essentials. Your back will love you for it, and it will help ensure you’re grinning with enjoyment as opposed to grinning and bearing it.
First things first, the main compartment
This is where you’re going to carry the majority of your gear, and regardless of the weather you think you’ll encounter it’s a great idea to start by putting a pack liner in. Doing so will add an extra layer of protection to all your precious kit, and if anything gets wet you can store it between the liner and your pack to keep everything else dry.
1: Hydration bladder
Many hiking backpacks have dedicated sleeves and ports for storing hydration bladders inside the compartment, and there are plenty of hikers who swear by the convenience of being able to drink on the go.
If you prefer to keep yours inside behind your gear, it’s much easier to organise everything around the reservoir when it’s in full — and in your backpack — first. It’s also possible to place one behind your pack liner to keep your water from your food and clothes.
Alternatively, you can rest your bladder on top of your gear, or keep it on the outside of your backpack if it has a front or top pocket. Either way is fine, and it can also make refilling on-trail a little easier.
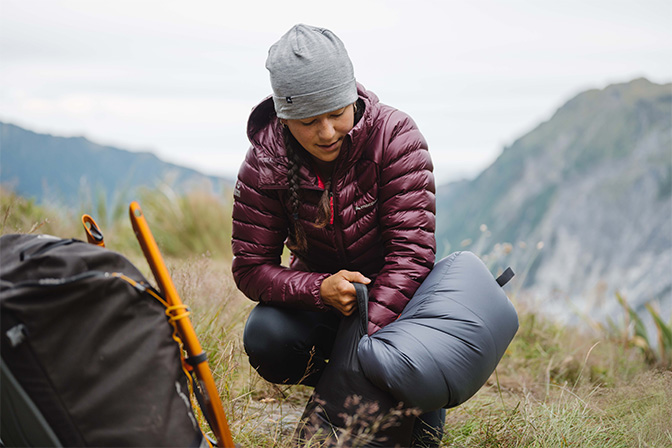
2. Sleeping bag
Packing your sleeping bag at the bottom of your hiking backpack is a great idea because you should only need to pull it out at the end of day. It also raises the level that everything else sits on, so the rest of your gear can be stacked a little higher up your back. If your backpack has a divider near the base for your sleeping bag, you can also start by packing it in there. If not, the bottom of your backpack is perfect.
This is important because the key is to have your heaviest items sitting as close to the middle of your back as possible. Doing so will ensure your load is stable while you walk, and it will keep you from feeling top or side heavy.
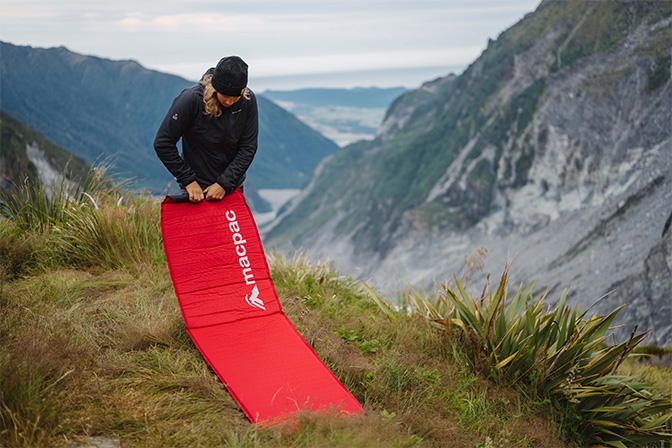
3: Tent and sleeping mat
You can skip these if you’re staying in a hut, but if you’re bringing your home with you then try to stand the tent upright, down the centre of your pack. It will likely be your heaviest item, so packing it this way will keep the weight central to your spine.
PRO TIP: Some people like to split the components up to make things fit better and this is completely up to you. If you’re sharing with a friend or there’s a group of you heading out, consider sharing the load or distributing food and gear accordingly.
4: Food and clothes
Adding your food, cooking gear and any fuel next is a good idea, and by now you should have a decent base to place them on. If you want to raise it a little higher you can pack your hut clothes or spare gear first, and this will also make things easier if you stop for lunch en route.
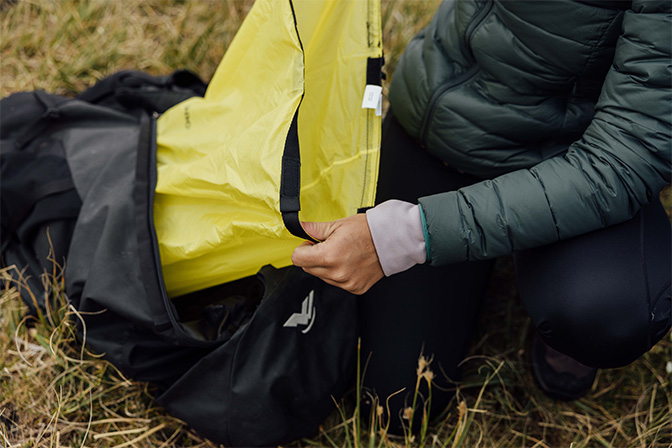
This is a great time to mention dry bags, because separating and organising the items you don't need during the day makes this part of packing a breeze.
Dry bags are also a great idea if you’re hiking in New Zealand, as the weather can go from 23°C and sunny to 6°C and raining in the space of a few hours. The same goes for any other locations near rivers and beaches, because while they can keep your gear from getting wet if it does start pouring, they can also keep wet gear from soaking everything else in your pack.
It’s possible to purchase dry bags in a range of colours to make it easy when you’re looking for items in your pack. That way you can separate dry clothes, wet clothes, and hut clothes, without making them difficult to find.
If there’s still a lot of room left, your pack might be too big.
PRO TIP: Don’t be tempted to overpack just because you’ve got the space. Sticking to the essentials is always a good idea, because chances are that the last thing you’re diving into after a day in the wild is your 500-page paperback.
If there’s any space leftover then this is where some of the art to packing comes in. You can fill any gaps with your insulated layers because they’re worth keeping on-hand if the temperature drops.
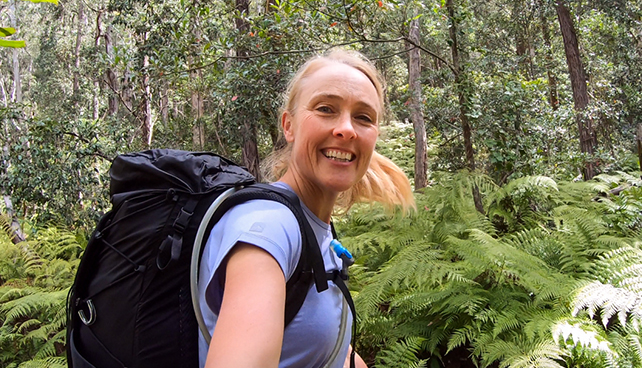
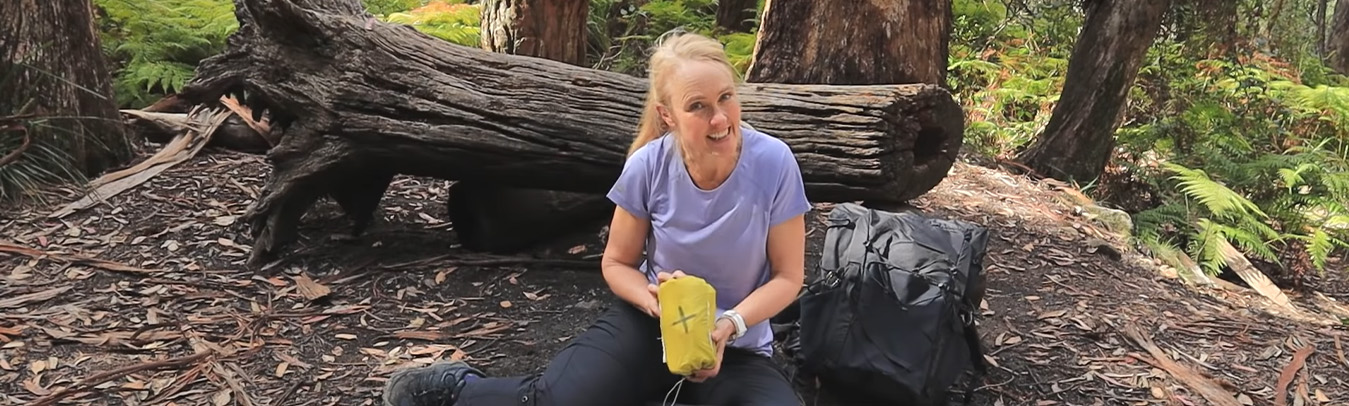
Here are a few tips on how to pack for an overnight hike (in a 40L backpack) from Macpac ambassador Caro Ryan.

Next, the ‘brain’
With the main compartment packed, now’s time to store the smaller items and essentials that live in the top lid pocket of your backpack — also known as its brain.
1: Toiletries
This kit can grow or shrink depending on the place you’re heading and the number of days you’ll be away. A toothbrush, toothpaste and hand sanitiser are the bare minimum, but consider where the nearest toilet will be.
Even if you’re staying in a serviced hut with toilet paper and a long drop (or a flushing toilet if you’re lucky), taking extra paper and plastic bags for emergencies is a responsible move.
2: PLB, first aid kit, and utility knife
Having a personal locator beacon (PLB) or some kind of emergency communication device is an essential whenever you’re in the backcountry, especially if you’re heading out alone. Your first aid kit can grow or shrink depending on the length of your trip, but ibuprofen, paracetamol, plasters and toilet paper are the bare minimum. A pocket knife is a great shout, too.
3: Ear plugs and/or eye mask
Whether you’re in a hut or a tent, you’ll be thankful you brought these if it’s windy outside — or there are loud sleepers inside.
4: Snacks and maps
Nothing’s worse than having to take your backpack off and dig right through the main compartment to find a handful of trail mix, and knowing where you’re going is always a smart idea.
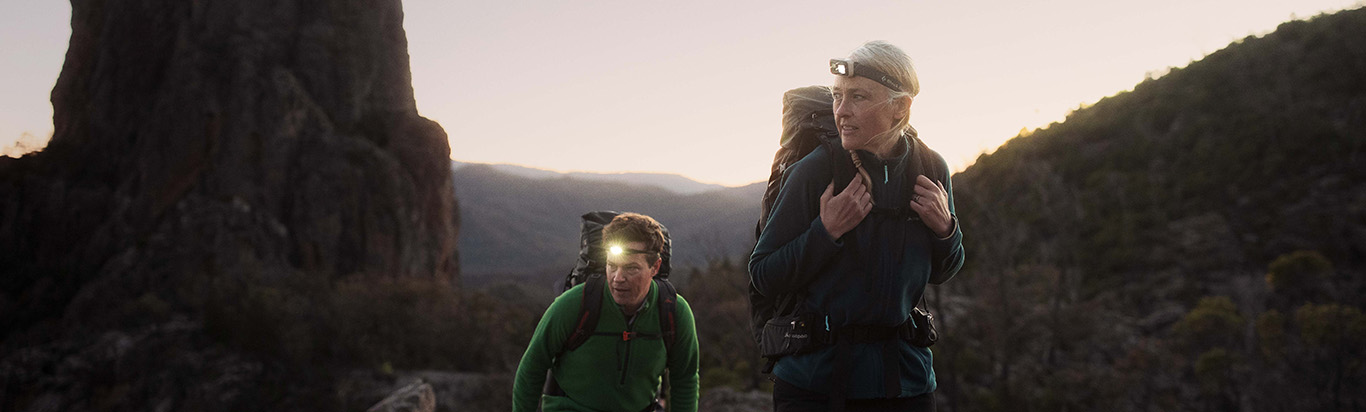
5: Headlamp and an extra something for your head
The longer you’re out there, the more you’re likely to make a mistake, so having your headlamp on hand makes it easy to switch to night mode when the sun dips out of view. The temperature will drop significantly as soon as this happens too, so whether you pack a gaiter or a beanie — or both — stash them in the topmost pocket of your back.
And lastly, any external pockets
Most hiking backpacks will have at least one side pocket, a front zip or stash pocket, and maybe some hip belt pockets. They’re designed to hold a handful of essential items, although here’s where people can be tempted to strap anything that doesn’t fit inside their backpack to the outside.
Keeping as much gear inside your pack doesn’t just protect it, but it also looks tidier. That being said, here’s what should live on the outside of your pack.
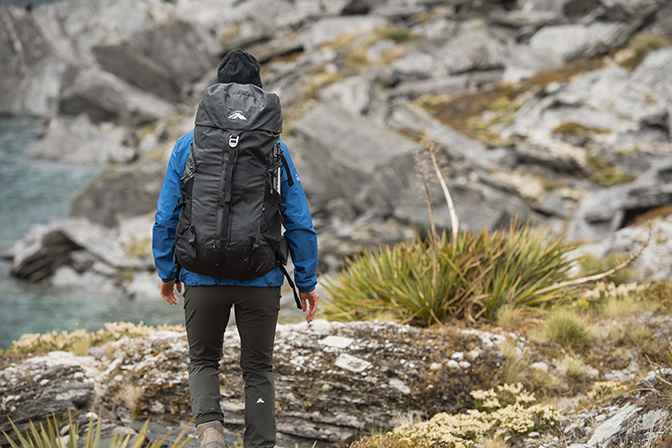
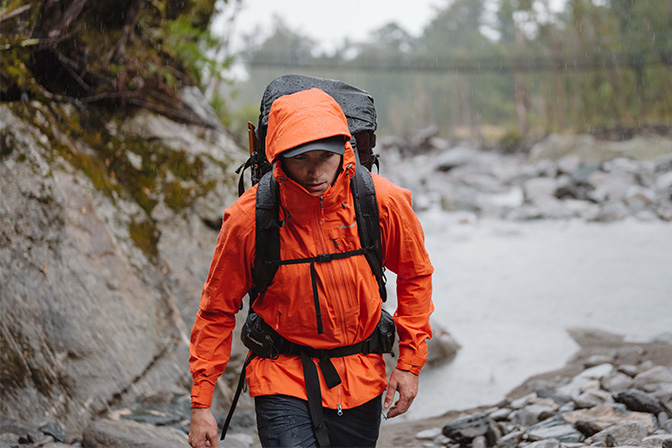
1: Wet weather layers
This could go in a stash pocket, front zip pocket, or in with your rain cover if your pack has an integrated pocket for it. This ensures your rain jacket and pants are handy if the weather turns, and it keeps the gear in your pack dry after you’ve taken them off.
Should the rain stop before you make it to camp, you can also get a headstart on drying by tying these layers to the top of your pack, too.
2: Hut shoes
Whether you’re in a hut or a tent: hiking boots stay at the door. No-one needs that inside.
3: Water
This is what your side pockets are made for. Not only is it easier to reach for water when it’s on the outside of your pack, but should anything happen to your bottle it’s nice to know it won’t soak all the gear inside the main compartment.
4: Any other bits and bobs
If your backpack has hip belt pockets then now’s time to fill them. Lip balm, sunblock, chocolate, your phone, and any extra snacks you want really close can go in there. Otherwise, that might be everything.
What not to pack in your hiking pack
After a solid day of walking, chances are that sleep will be the only thing you want after a hot meal. Throwing in a pack of cards around the table is never a bad idea, but filling space for the sake of it will only add unnecessary weight. Think paperbacks, track pants and over-ear headphones. They’re better left at home.
The same goes for your fluffy bathroom towel, which will only take up space and get heavier as it gets soggier. A fine microfibre option is great for wiping your face, drying your hands, or cleaning up any spills.
We’ve briefly mentioned it already, but another no-no is getting too excited about the lash points on the outside of your backpack. These are designed to hold items like walking poles, crampons and ice axes that would otherwise take up space, or ruin the inside of your backpack.
Some people like to strap their tent to the bottom of their backpack, but this is completely up to you. Keeping something heavy below the base of your backpack can lower its centre of gravity — a good thing if your backpack is feeling top-heavy — but if the weight pulls through your shoulder straps it might compromise comfort. If you sleep on a light, closed-cell foam mat then you’ll hardly notice if it’s strapped there.
One last tip
Regardless of whether you’re heading out for one day or three, have a go at packing and repacking a few times to find out what works for you. Chances are that when you make it to camp you’ll find a couple of shortcuts for yourself, and whenever you add or remove a piece of kit you can fine-tune your fit before heading out again.