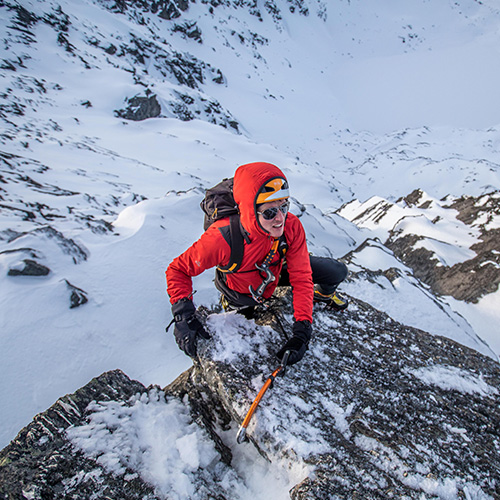
Views aren’t too bad from high in the mountains
What is mountaineering?
Mountaineering is the act of climbing mountains, consisting of rock, snow, ice or a combination of all three. Humans have long been enthralled by the high mountains, and a curiosity to answer that nagging question – “Could I climb up there?”
If you are interested in getting involved in the sport of mountaineering, this article will provide some tips and advice on how to get started.
What are the dangers of mountaineering?
Climb if you will, but remember that courage and strength are nought without prudence, and that a momentary negligence may destroy the happiness of a lifetime. Do nothing in haste; look well to each step; and from the beginning think what may be the end.
– Edward Whymper
First of all, mountaineering is a dangerous activity. The hazards you will face in the mountains include:
- Rockfall and icefall
- Avalanches
- Exposure to cold weather
- Crevasse falls in a glacier
- Exposure to steep terrain
For this reason, a slow and methodical progression is needed to stay safe in the hills. It takes time to gain the skill, judgement and experience to:
- Know what equipment to bring;
- Assess the hazards of different situations;
- Find safe routes through mountainous terrain;
- Ascend a variety of rock, snow and ice slopes;
- Know when to turn back.
How do I progress in mountaineering?
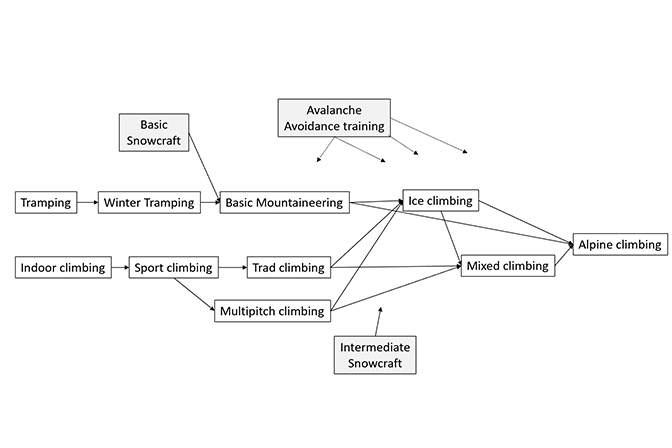
Climbing mountains involves a variety of skillsets. These must be gained over many years of instruction courses, mentorship and personal practice along the way.
Here is an illustration of a typical pathway in mountaineering with a few courses shown.
Before you take the first step into mountaineering, you want to have a good background in tramping in the backcountry, over multiple days, and through rough terrain. You will need these skills to approach any mountain. Work on your navigation skills by doing off-track travel through bush or on the tops, and by attending some local Rogaine events.
Get experience tramping in winter too, in areas where snow might be present but crampons are not necessary. Learn how to deal with cold conditions. This will prepare you well for a basic snowcraft course.
If you are hoping to progress later to more advanced mountaineering, start your journey into rock climbing now. Begin by learning the ropes in your local indoor rock climbing gym. Soon enough you will be leading sport and trad climbs outdoors. This will set you up well for ice & mixed climbing, and ultimately climbing technical routes on the highest peaks.
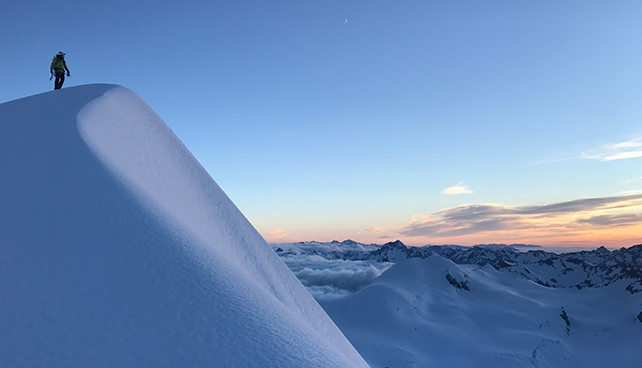
Snow 1 Course at the Remarkables Ice and Mixed Festival
Where and how can I learn the skills?
Get involved with your local club! The New Zealand Alpine Club (NZAC) has branches all around NZ with sections in Auckland, Wellington, Nelson/Malborough, Canterbury/Westland, Otago and Southland. There are also separate regional clubs such as the Canterbury Mountaineering Club and the West Coast Alpine Club.
If you are studying at University, get involved with a Uni tramping & climbing clubs. These clubs run operate volunteer led courses and run lots of trips. The main ones are AUTC and AURAC in Auckland, VUWTC in Wellington, CUTC and UCCC in Christchurch, OUTC in Otago.
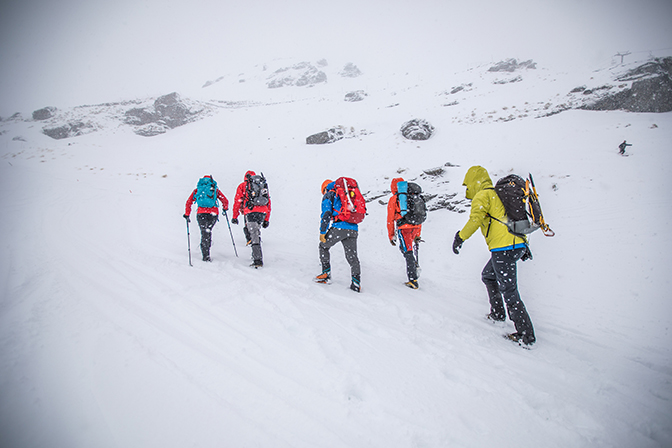
Attend one of the clinics at the Remarkables Ice & Mixed Festival, held in Queenstown every year in August. There are clinics teaching snowcraft, ice & mixed climbing and ski touring and its a great chance to network with climbers from around the country.
Professional guiding companies such also offer tailored courses to suit all skill levels. For example, Adventure Consultants, Aspiring Guides, Alpine Recreation all have excellent guides and courses, but these will be more expensive than going through a club.
What equipment do I need?
In addition to the gear that you would take on a multi-day tramping trip, most mountaineering trips also require:
- Crampons
- Ice axe
- Helmet
- Gaiters
- Stiff boots
- Waterproof gloves
It can be difficult to know what to buy at first. Mountaineering boots, crampons and ice axes are expensive investments. A simple straight shaft walking ice axe approximately 60cm or one with a slight bend in the shaft is a good option for a first ice axe. Any 10 or 12 point steel crampon that suits your boot type will work to start with. Try and borrow or hire as much gear as you can at first and ask lots of questions from experienced mountaineers before you invest in your own gear.
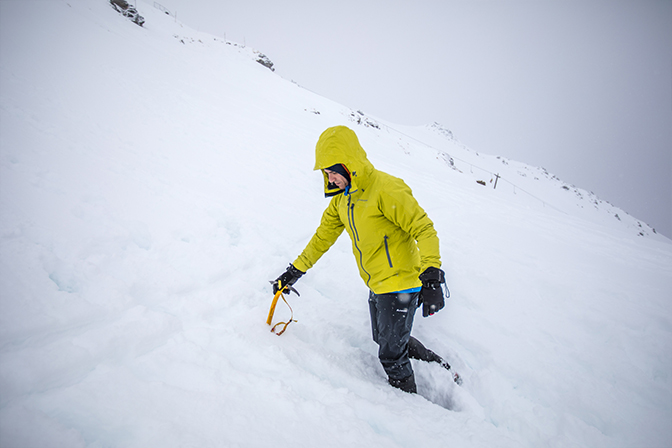
Learning to use an ice-axe
The most important piece of gear to invest in is boots. These need to be very stiff with little to no flex lengthwise between the heel and the toe. This is to allow crampons to work with the boots on steep snow or ice.
Your first mountaineering boot should be have a ¾ shank, referring to the amount of stiffness in the boot. This type of boot will have a heel welt but no toe welt, to accept a semi-automatic crampon (plastic clip on the back and basket attachment at the front). This type of boot will be stiff enough for general mountaineering and also comfortable enough to walk over a variety of terrain.
Full shank boots and fully automatic crampons should be reserved for further down the track, unless you want to get into ice climbing straight away. These are completely stiff and great on steep terrain, but less comfortable when walking.
Clothing wise, mountaineering has different requirements to tramping. Check out some of the options available in the Macpac Alpine Series, designed in partnership with the New Zealand Alpine Team. Here are some specific gear recommendations:
- Baselayer: Macpac’s high-performance thermals are called Prothermals and provide advanced warmth and breathability (men’s and women’s).
- Mid-layer: The Nitro Polartec® Alpha® Pullover (men’s and women’s) is a versatile, super lightweight and breathable mid-layer. Or consider the Pisa Polartec® Hooded Jacket (men’s and women’s) which can be a mid or outer-layer depending on conditions.
- Outer-layer: Check out the Tempo Pertex® Rain Jacket (men’s and women’s) for a durable, packable outer-shell.
In terms of packs, have a look at the Macpac 40L AzTec® Alpine Pack. Durable and weather resistant, it has plenty of capacity for a day or overnight trip, with a top compression strap to secure a rope and dual ice axe attachments, daisy chains and ‘V’ webbing loops to keep tools secure while on the move.
Again, it is worth chatting to experienced mountaineers and see what they recommend, or pop into your local Macpac store to chat to one of the team.
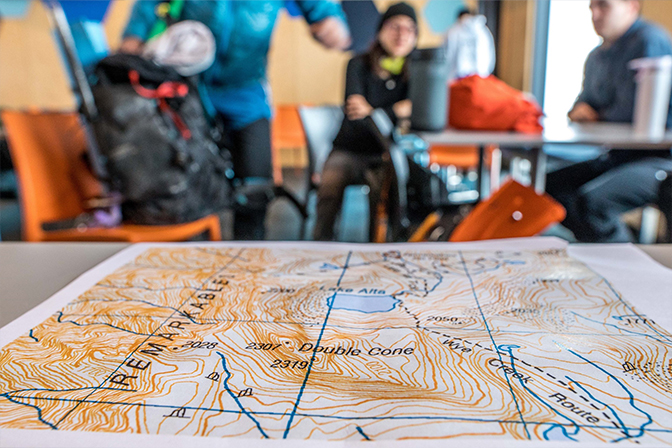
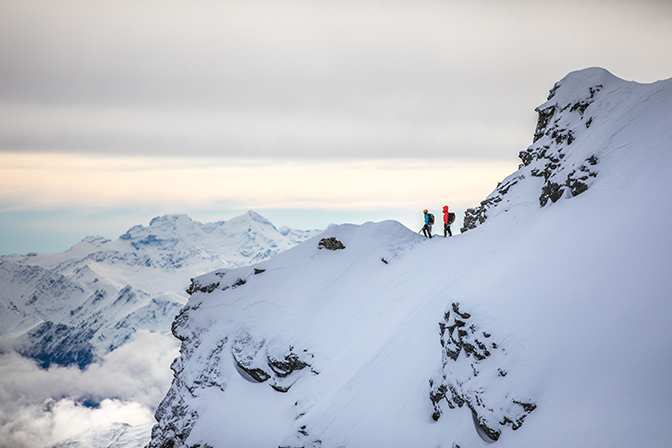
Navigation and map-reading skills are essential
What courses should I take?
The first step into mountaineering is to go on a Basic Snowcraft course. This will teach you how to use an ice axe and crampons on snow, how to self-arrest (stop a fall on a snow slope) and learning about how to manage the hazards of mountaineering.
The next course to take would be an Avalanche Awareness course. Know when avalanche conditions are safe, how to avoid avalanche terrain by planning safe routes, what factors influence avalanches, and the basics of performing an avalanche rescue.
To complement these skills, you would do well to up-skill in Off-track Navigation, and take a Wilderness first responder first aid course.
In the South Island, a lot of basic mountaineering involves travel through glaciers. Once you have climbed a few peaks and are looking to expand your options, take a Glacier Travel & Rescue course to know how to travel safely through crevassed glacial terrain.
Later, if you decide you want to climb more difficult, technical peaks, take an Intermediate Mountaineering course. This will teach you the ropework skills related to mountaineering. Snow and rock anchors, belaying, pitching, moving together on exposed terrain, and abseiling.
How can I consolidate my skills?
These courses will provide some skills, but its highly recommended to go on your first mountaineering trips with experienced mountaineers as it requires a lot of time and practice to become proficient with crampons and ice axes. Aim to experience a range of conditions before moving on to harder stuff.
If you do go out on your own, make sure you practice on slopes with really safe run-outs. Don’t worry about practicing on steep terrain – most mountaineering involves easy to moderate snow slopes, and that is where you need to be really well-practiced to stay safe.
If you can move around safely and confidently on moderate angled snow (and start learning the basics of trad climbing) then more advanced courses should come easily for you.
What type of mountaineering is suitable in each season?
People often ask me what I think about conditions. I think about conditions most of the time. I watch the mountains from the valley – whether I am in Castle Hill Village or in Salt Lake City. I’ll look out the window before I consult any website (even when it’s dark). I’ll look for wind plumes, for frost, for fresh snow, for rain, for snow melting off the roof, for clear skies – and every day I wonder “what has changed?”
– Anna Keeling, A Seasonal Approach To Terrain
In New Zealand mountain conditions vary throughout the year and there is an optimal season for different types of mountaineering climbs.
Conditions change frequently throughout the season too, which is why its important to be connected to a club or network to ask about current snow, ice and rock conditions. You need to find out about snow coverage (depth of snow, height of snowline) and its quality (powdery, crusty, slabby, icy) to determine if its OK to go, and whether to continue on once you are on the mountain.
This is a rough outline of what to expect in each season:
Autumn – patchy snow coverage, cold & wet rock. Called the ‘Shoulder season’ for a reason. Not the best time to go mountaineering. Use this time to go tramping below the snow line and rock climbing.
Winter – variable snow conditions, ranging from dry powder after a snowfall to slabby or crusty snow depending on the weather. A good time for North Island mountaineering. Be particularly careful in the South Island with potentially dangerous avalanche conditions, stick to safe areas relative to your experience level.
Spring – snow is becoming wetter in general with warmer days. Early starts often needed to avoid effects of afternoon heat. Avalanche conditions can be difficult to judge in this season. A good time for snow mountaineering in the upper South Island.
Early summer – the best time for classic mountaineering on higher (2500m+) peaks in the South Island.
Late summer – most impermanent snow has melted back except for the glaciers. Snowfields are hard and icy. Good time for alpine rock trips and scrambling.
How do I know if the conditions are suitable?
First check the weather forecast. Take note of conditions (rain, snowfall) prior to your trip, during, as well as after – if the trip takes longer than planned, you need to know if a storm is incoming. Check a few sources i.e. MetService, MetVUW.
Check Avalanche conditions on the NZ Avalanche Advisory website. Plenty of resources here, but none will substitute proper avalanche training.
For glacier, snow or ice conditions, recent observations help. Ask people in your club, or post on a Facebook group such as Mountaineering New Zealand.
How can I get fit for mountaineering?
The most important type of training you can do is hills. Walk up lots of hills. Elevation gain. Run or walk, carry a pack or go light, all that matters is spending lots of time on your feet, on rough, uneven ground, going uphill. Try pick a steeper hill to ascend and come down a gentler route to descend to save your knees. Get a pair of light trekking poles to take off some load from your joints.
If you live in a flat city with no nearby hills, grab a friend (for motivation) and head to whatever source of elevation gain you can find – a steep street or long set of stairs and do hill repeats. It really is the best way to tune your body to what you’ll be doing on any given mountaineering trip.
Mountaineering is generally cardio intensive, so any cardio exercise works – cycling, running, gym cardio (cross fit). But the more specific you can make the exercise, the better.
Strength work is also highly beneficial, so try and incorporate training that strengthens your legs, core and upper body so you can be as resilient as possible in the face of whatever the mountain throws at you.
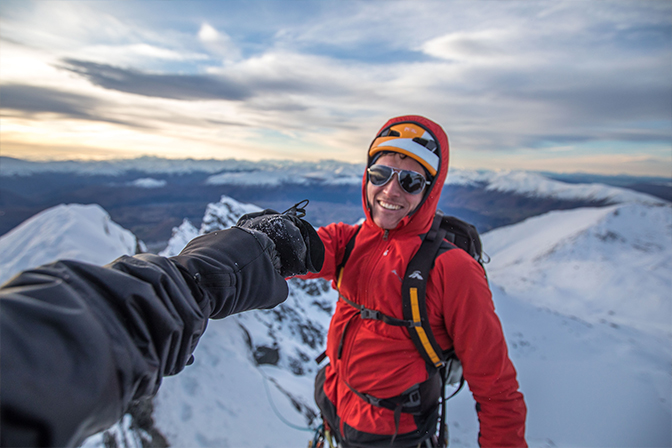
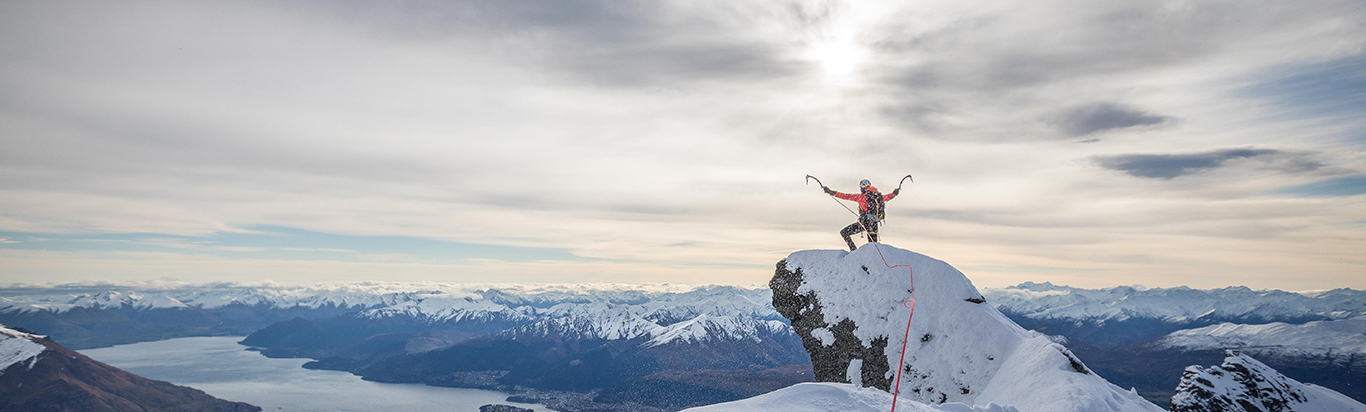
Post-summit smiles
What are some good beginner objectives?
All of the following are good Grade 1 mountaineering objectives that may well require crampons and an ice axe, but with little to no glacial travel.
North Island
- Mt Ruapehu from Whakapapa skifield, summit Paretetaitonga, Te Heuheu. From Turoa skifield climb Tahurangi.
- Mt Ngauruhoe and Mt Tongariro from South Crater.
- Mt Taranaki via North Ridge. Have a few other grade 1s under your belt before attempting Taranaki, as it can present much icier conditions and less safe run outs than in the Tongariro area.
Upper South Island:
- Tapuae-O-Uenuku from the Hodder Huts. Lots of river crossings on the approach so recommend a second pair of footwear.
- Maniniaro/Angelus Peak – would be great at dawn from Angelus Hut
- Faerie Queene and/or Gloriana – best done as a three day trip from Lewis Pass
- Mt Princess from Maling Pass – can be done as a big day trip or with a camp at Princess Bath
Arthurs Pass and Castle Hill region
- Mt Philistine
- Coral Track to Avalanche Peak, or Avalanche Peak to Mt Bealey (or the full loop if you’re keen!)
- Mt Armstrong (near Waimakariri Col)
- Cheeseman-Cloudsley traverse
- Castle Hill Peak from Porters Pass, or a big day traversing Mt Torlesse to Foggy Peak via The Gap
Aoraki to Ohau region from the east
- Mt Annette
- Ball Pass, or Mt Cook Range from Wakefield to Ball Pass
- FitzGerald Pass (crossing from Mt Cook to West Coast)
- Mt Edgar Thomson South Ridge or East Ridge
- Dun Fiunary from Whale Stream
- Mt Mackenzie from Broderick Hut
West Coast
- Mt Adams
- Craig Peak and Sam Peak via Mt Fox
Wanaka/Queenstown
- Mt Armstrong or Topheavy from Brewster Hut
- Mt Tyndall
- Plunket Dome
- Mt Earnslaw East Peak from Esquilant Biv, if you’re prepared for a couple hundred metres of steeper stuff – ok without a rope if you’re confident and conditions are good.
- Mt Somnus
- Mt Erebus
The Darran Mountains
- Barrier Knob from Gertrude Saddle
Mountaineering is a fantastic pursuit, but one best approached with a slow and methodical progression to gather all of the skills needed to mitigate the risks. The most important thing is to get involved with your local club to learn new skills and make new mountaineering connections for climbing in your local region.
Macpac has a PLB hire service – if you don’t own a device yourself, this is a great service and available at all our stores nationwide. Already this mountaineering season there have been incidents in the mountains, so please tell someone your trip plans and look after yourselves out there.